Stripe
Learn how to integrate with Stripe
Let's Get Started!
Use the following link to create a new account, the link will ask you a series of questions about your business which will help us get you onboarded as quickly as possible.
Within 24 hours, Stripe should have approved your new account. Your friendly Skipify implementation manager will follow up to provide you with your new credentials and answer any questions you may have.
Configure your Risk Settings
Stripe offers a built-in, rules-based risk solution to help you avoid fraud and chargebacks. Make sure you've taken the time to configure your Stripe risk rules and ensure they align with your business needs.
ImportantSkipify works hard to authenticate users within the Skipify Wallet, but we are NOT a substitute for a risk engine
Configure your Skipify Account
Now that you have your credentials, it's time to configure your Skipify account!
- Login to the Skipify Merchant Portal
- Click on Payment and Processing
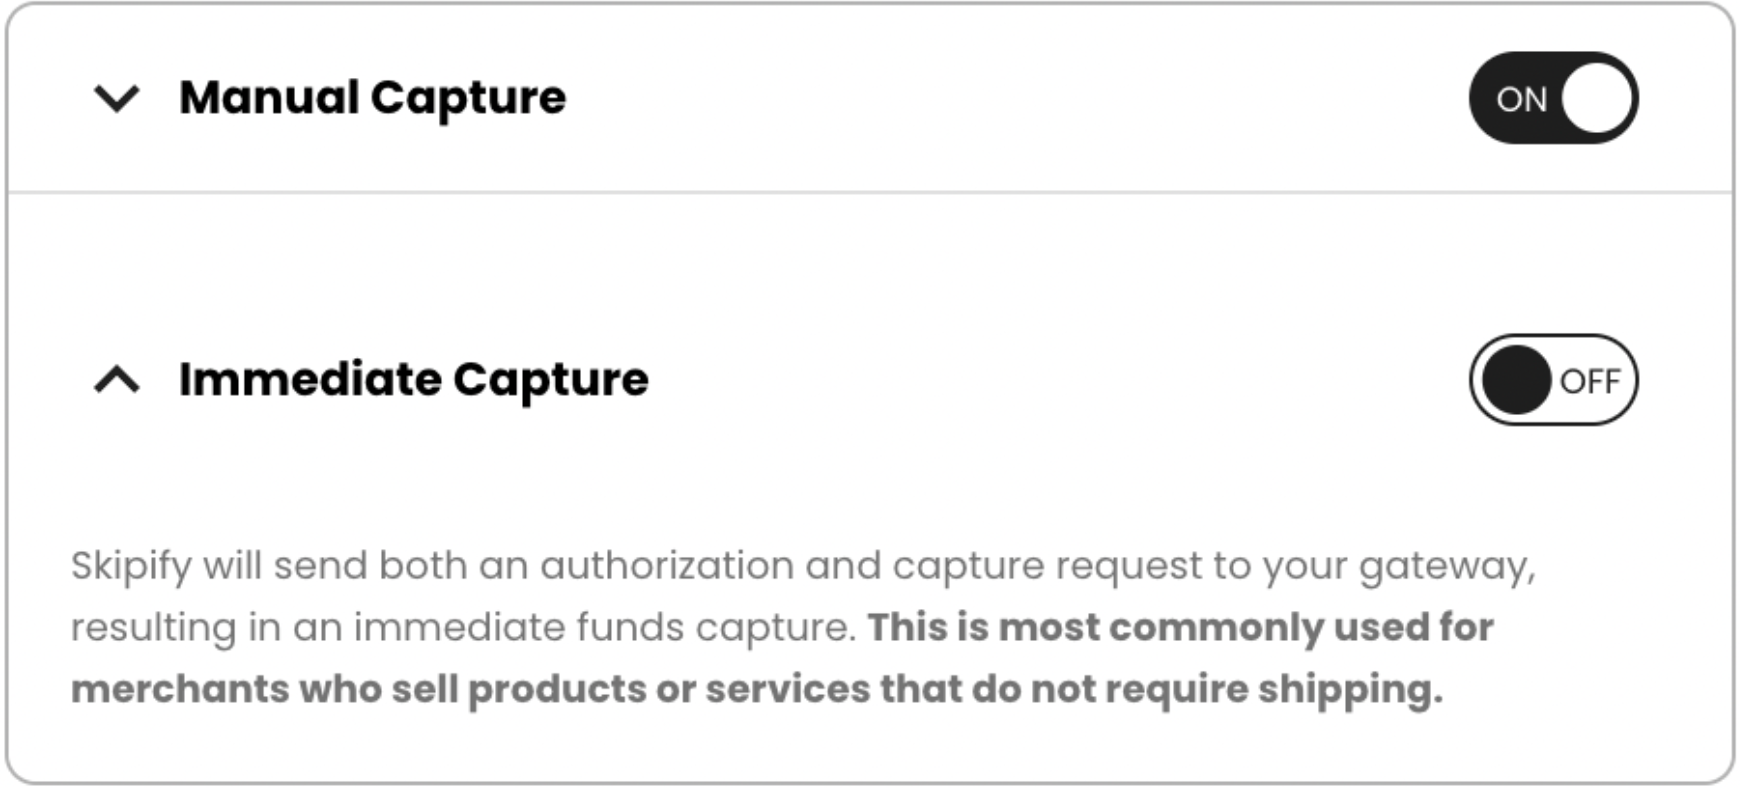
- Use the toggles to select the capture settings that suit you best:
Manual Capture is usually used by merchants who ship physical goods and need to hold off on capturing funds until the items are ready to go. With this option, Skipify will only send an authorization request to your payment gateway. You will be responsible for capturing funds when you're ready, either directly with your gateway, or via Skipify's capture endpoint.
Immediate Capture is usually used by merchants who have already provided a service, or who provide access to digital goods once authorization is complete. With this option, Skipify will authorize and capture funds at the same time.

Reporting and Reconciliation
All reporting will be completed through Stripe.
Stripe Transaction ID
The Stripe Transaction ID is available on the Skipify order record under the parameter gatewayTransactionID within the transaction array.
Updated 5 months ago

