Braintree
Learn how to connect your Braintree account
Get a Braintree Account
Make sure you have a Braintree Direct merchant account. If you don't already have an account with Braintree, you can signup for their sandbox here.
Braintree API Keys
You'll need both your public and private keys from Braintree.
- Login to your Braintree dashboard and click the gear icon (top-right of the screen)
- Select the API menu option
- Note your public and private keys and save them for later

Note:If you don't see the API menu option, please check your Braintree permissions. You must have Admin rights to access the API keys.
Choose your Braintree API Keys
- On the Braintree dashboard, click the gear icon
- Select the Business menu option
- Note your Merchant ID and any Merchant Account IDs that you would like to use for Skipify transactions
Note:You can always set up Skipify on multiple Merchant Account ID's! Please reach out to your implementation manager for more info.
Configure your Braintree Account
Fraud and Risk Settings
Braintree offers a built-in, rules-based risk solution to help you avoid fraud and chargebacks. Make sure you've taken the time to configure your Braintree risk rules to align with your business needs.
ImportantSkipify works hard to authenticate users within the Skipify Wallet, but we are NOT a substitute for a risk engine.
You can find the Braintree fraud and risk settings under the Fraud Management menu option.
Connect Braintree to Skipify
Once you've assembled your API keys, it's time to reach out to your favorite Skipify implementation manager! They'll work fast to configure your account, send you your new Skipify credentials, and answer any questions along the way.
Configure your Skipify Account
Now that you have your credentials, it's time to configure your Skipify account!
- Login to the Skipify Merchant Portal
- Click on Payment and Processing
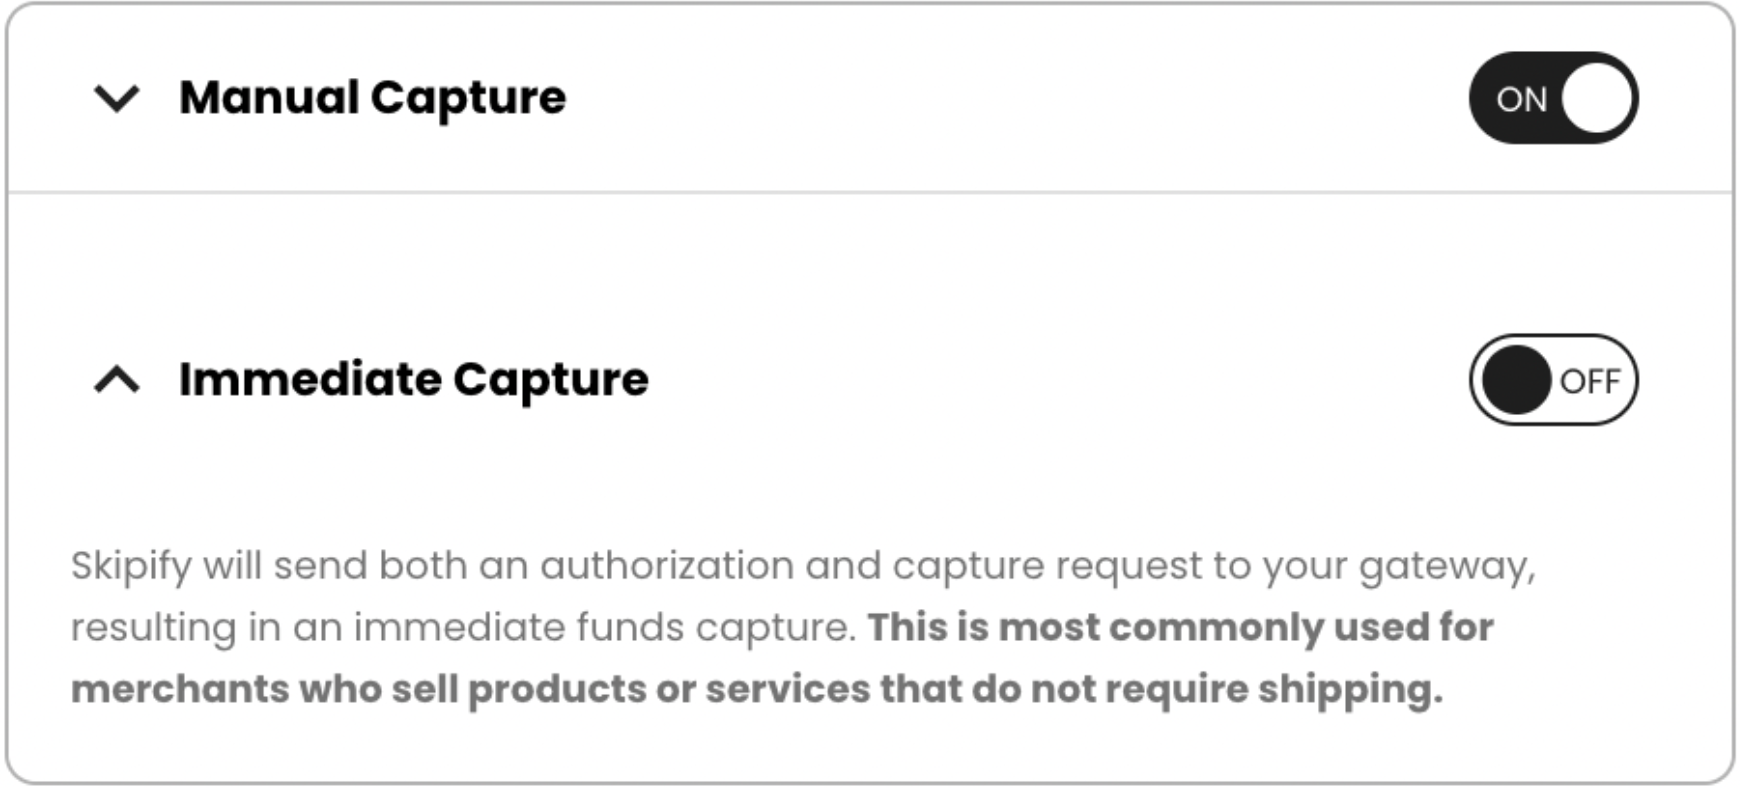
- Use the toggles to select the capture settings that suit you best:
Manual Capture is usually used by merchants who ship physical goods and need to hold off on capturing funds until the items are ready to go. With this option, Skipify will only send an authorization request to your payment gateway. You will be responsible for capturing funds when you're ready, either directly with your gateway, or via Skipify's capture endpoint.
Immediate Capture is usually used by merchants who have already provided a service, or who provide access to digital goods once authorization is complete. With this option, Skipify will authorize and capture funds at the same time.
Reporting and Reconciliation
All reporting will be completed through Braintree via the Reports tab located at the top of the page.

Braintree Transaction ID
The Braintree Transaction ID is available on the Skipify order record under the parameter gatewayTransactionID within the transaction array.

Updated about 2 months ago